The process of creating art is very important as each step along the way reveals new problems which need to be overcome to create the best possible final product. Below I take you through the process I went through in creating my How It Works: Da Vinci Clock 3D animation.
Research and Scripting
To create this animation, I had to do a lot of research on how clocks work. I had to find a clock which I could take apart to take measurements on for when I needed to model the clock. I found an easy to build plastic “Da Vinci Academy” clock kit which I could build, take apart, and put back together to help me not only understand how a clock works, but also take accurate measurements of for modeling purposes. I watched several videos and read a handful of articles on the inner workings of mechanical clocks.
Once I had a solid grasp on how mechanical clocks work, I was able to write a script to convey this information in a succinct way. Here you can see an early script for this animation.
Storyboards
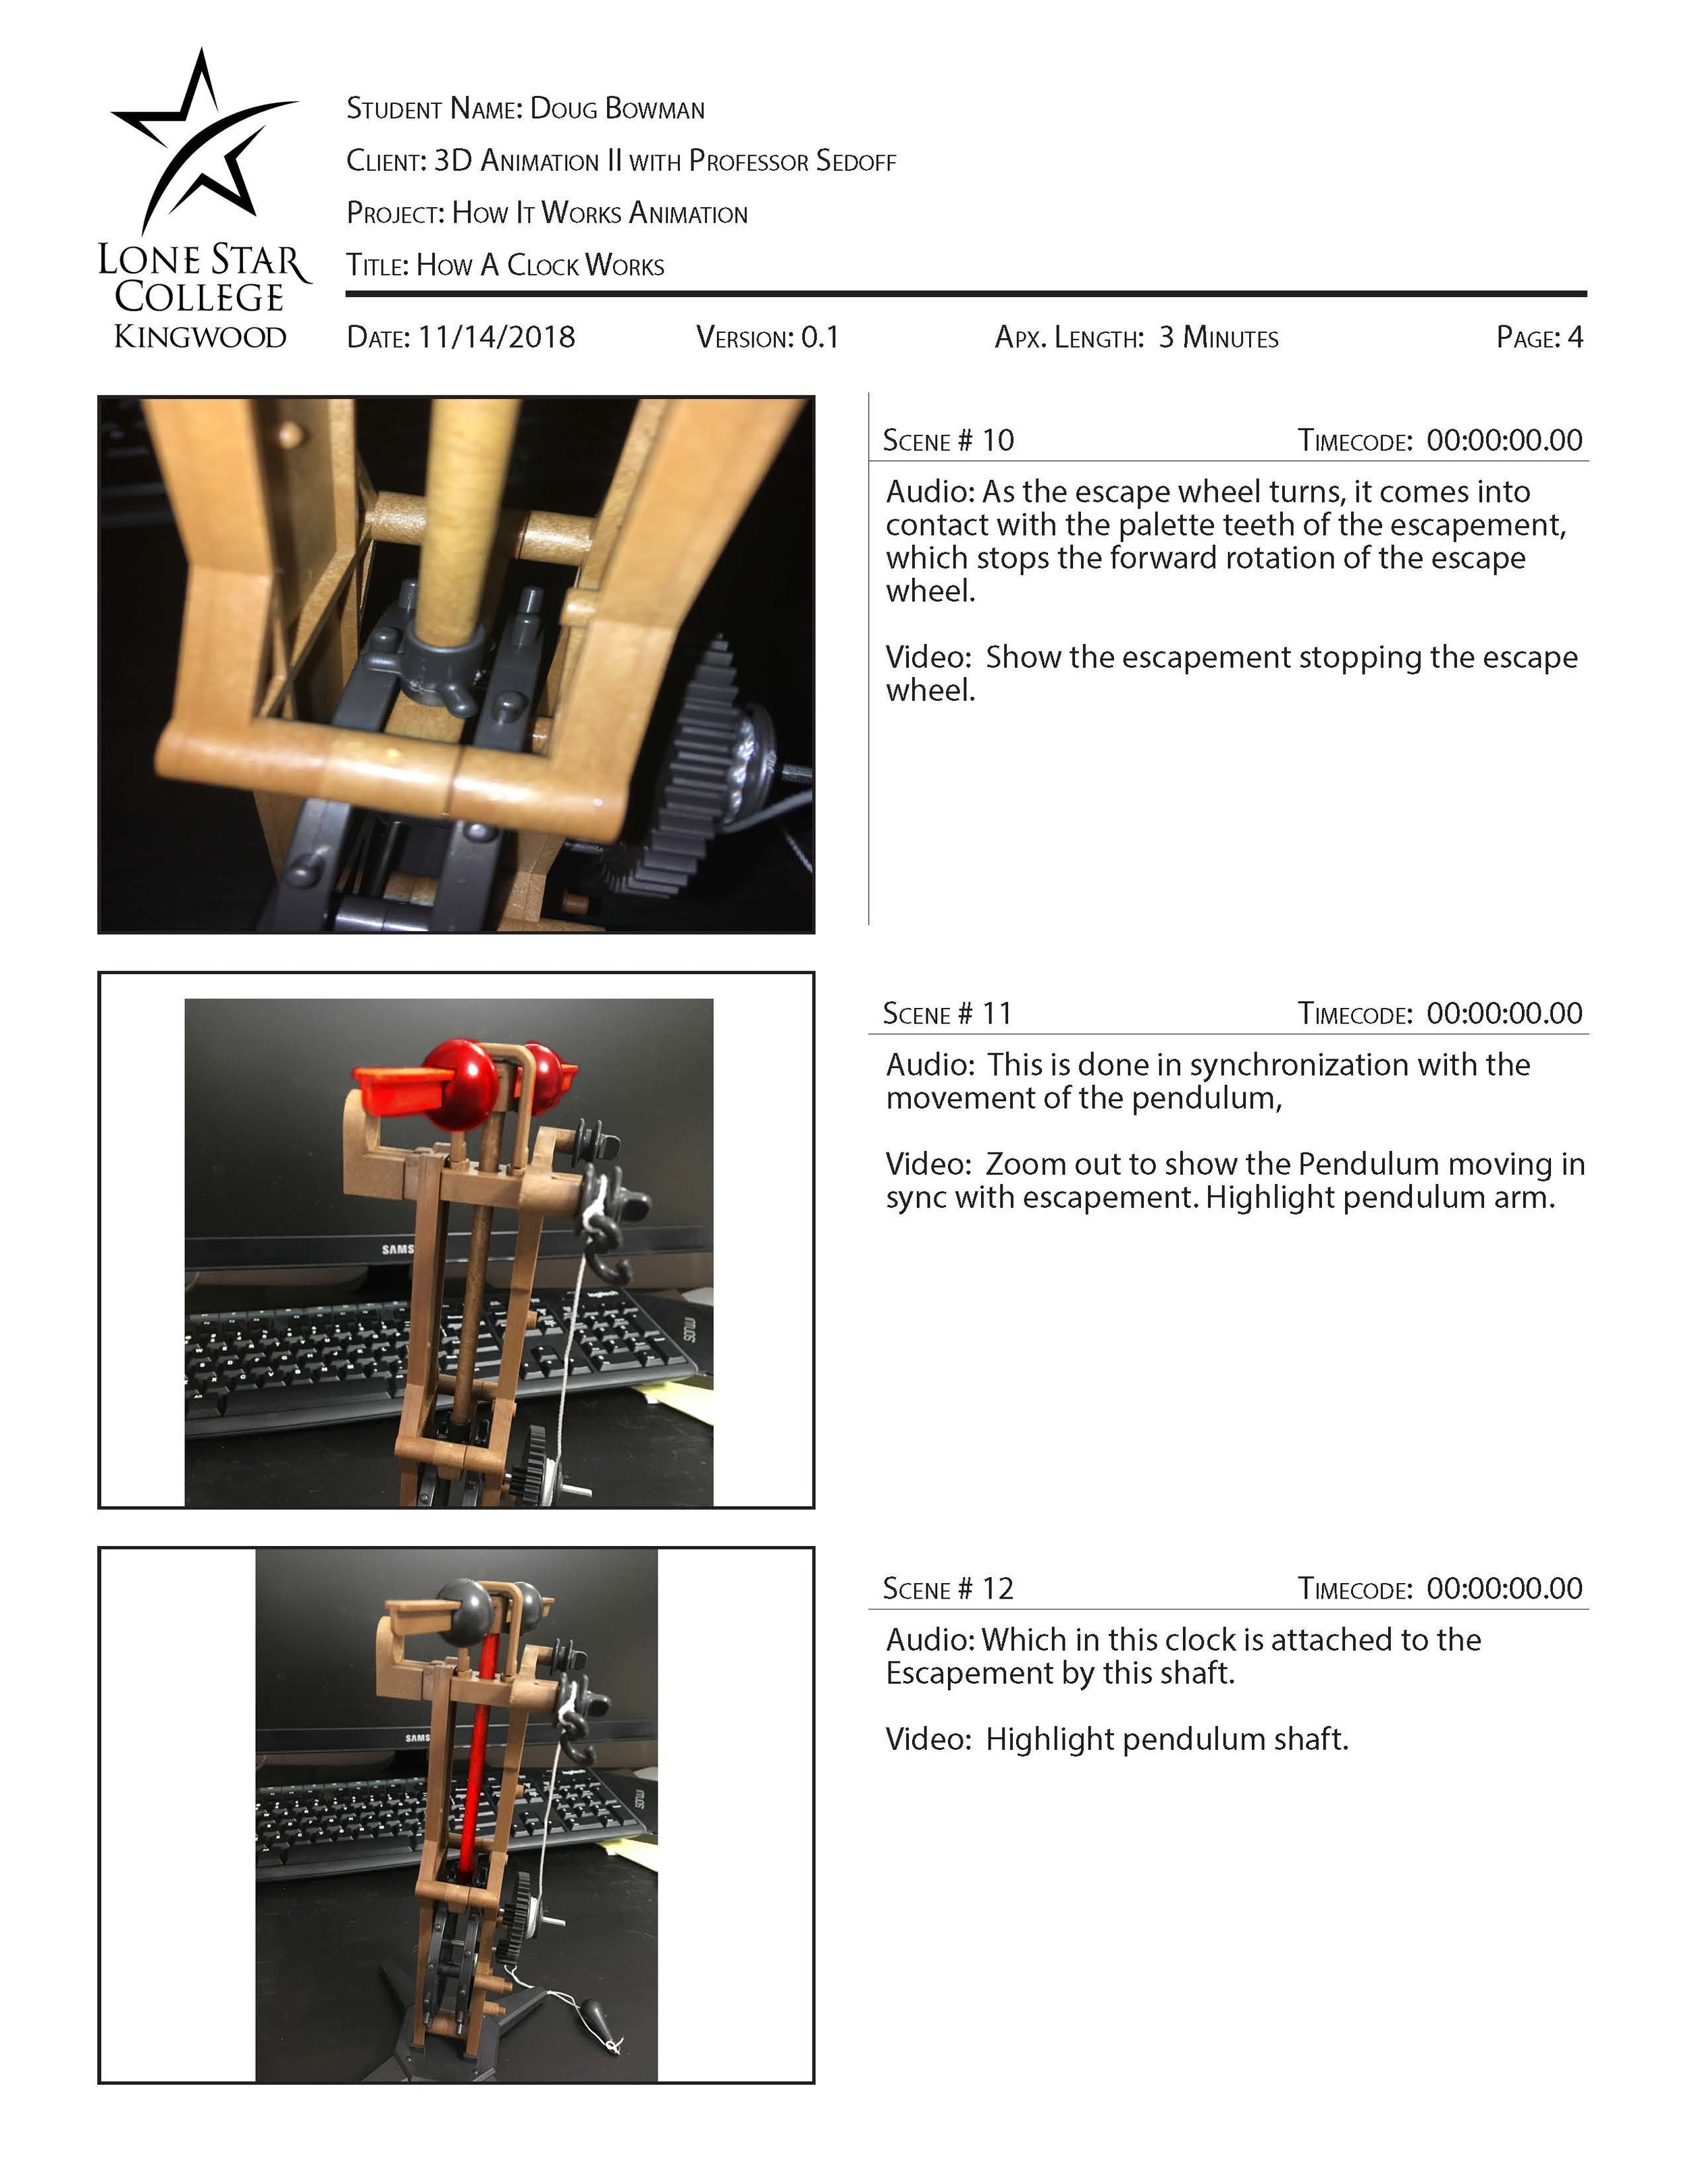
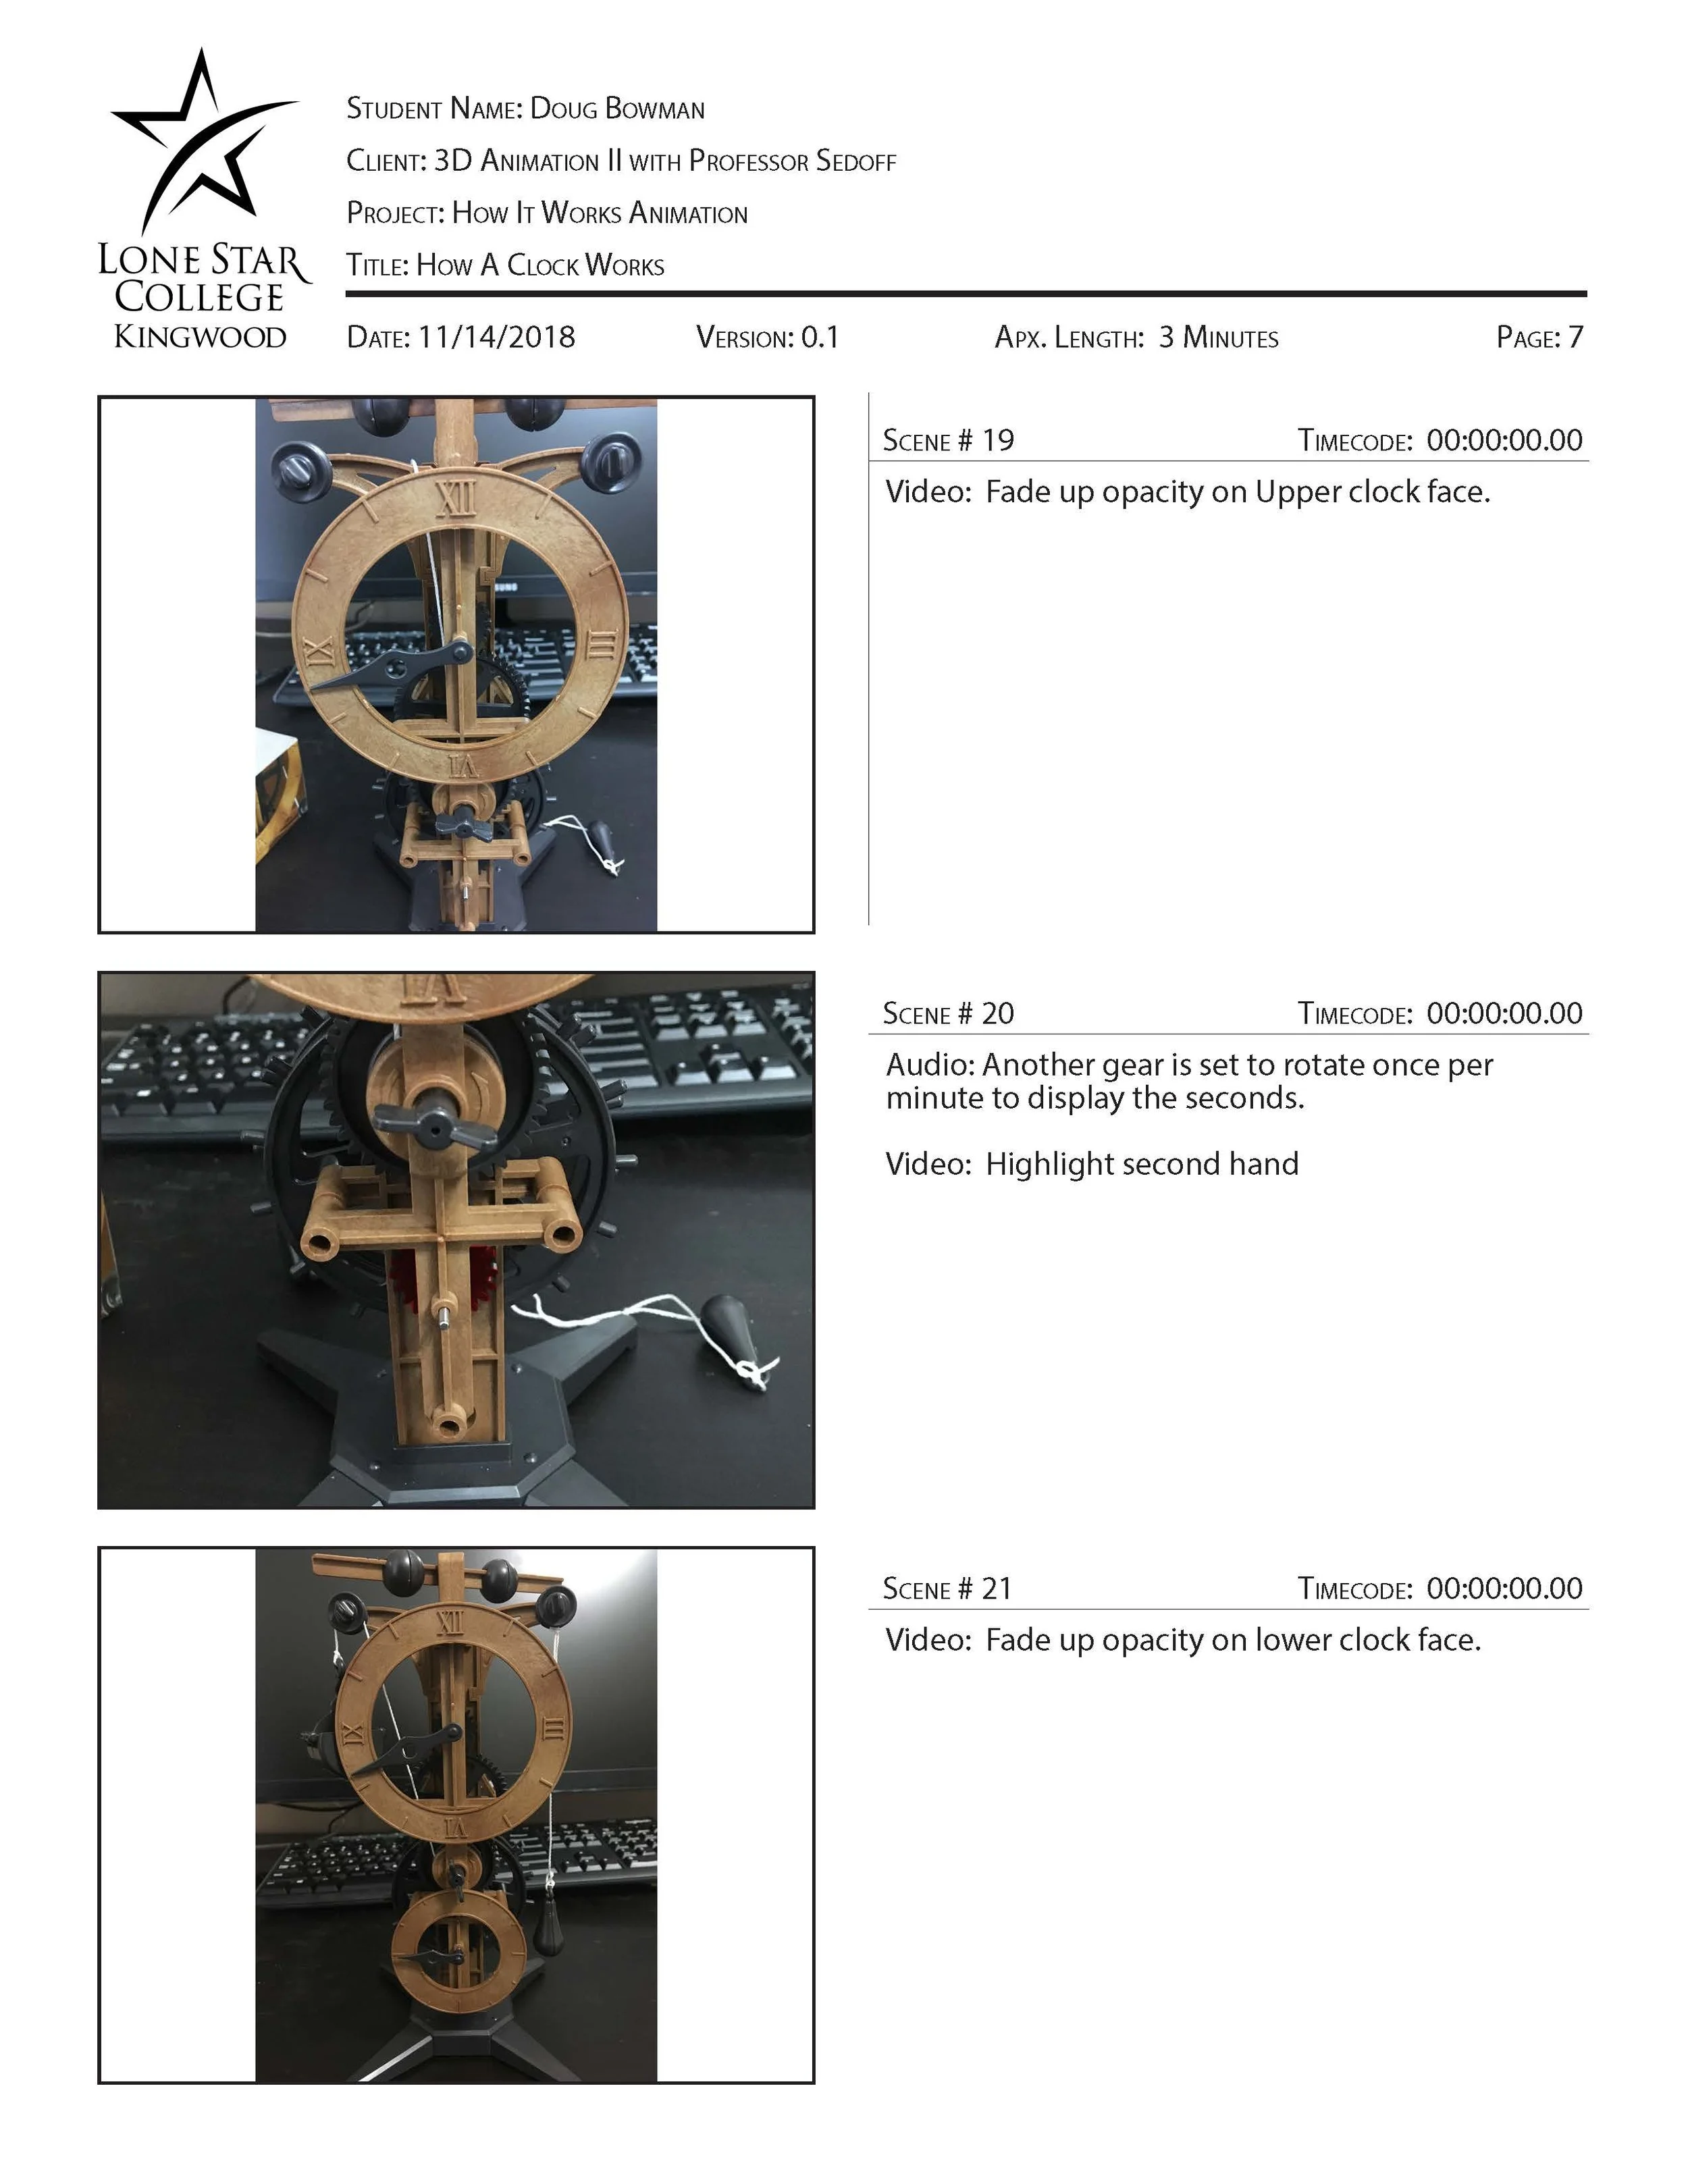
Once the script is approved I move on to creating my storyboards. For most projects my story boards are hand drawn sketches of the scene but for this project I had an actual physical model on which I was basing the animation, so I used photos of the model to create the storyboards. The storyboards help to plan out what shots are needed and how the action will occur in time with the script.
Animatic
The animatic is essentially the storyboards set to time. Setting the still storyboard images to time and adding in some rough animation helps to set the pacing of the piece. For a more complex scene involving several characters, dialogue, and lots of action this also helps to block out exactly how the scene will flow; if you can’t visualize how a scene is going to work in this phase you’re going to have a difficult time creating the actual animation. I also recorded the voice-over narration at this time as the pace at which the narration is read can greatly change the feel of the animation.
Through several versions of the animatic I found where certain aspects of the clock's workings needed to be better highlighted and parts which were unimportant to the scope of this animation. I re-recorded narration as necessary to fix pacing issues or add in extra detail that was missing from the original recordings. As animatic was finalized I finished off the audio with some post-processing to make it sound as good as possible.
Modeling
Now that I knew all of the actions the clock needed to be able to do in the animation, I was able to model it. I used Autodesk 3Ds Max to model the clock. I based the model on the real-world measurements of the Da Vinci Academy clock model.
Animation Passes
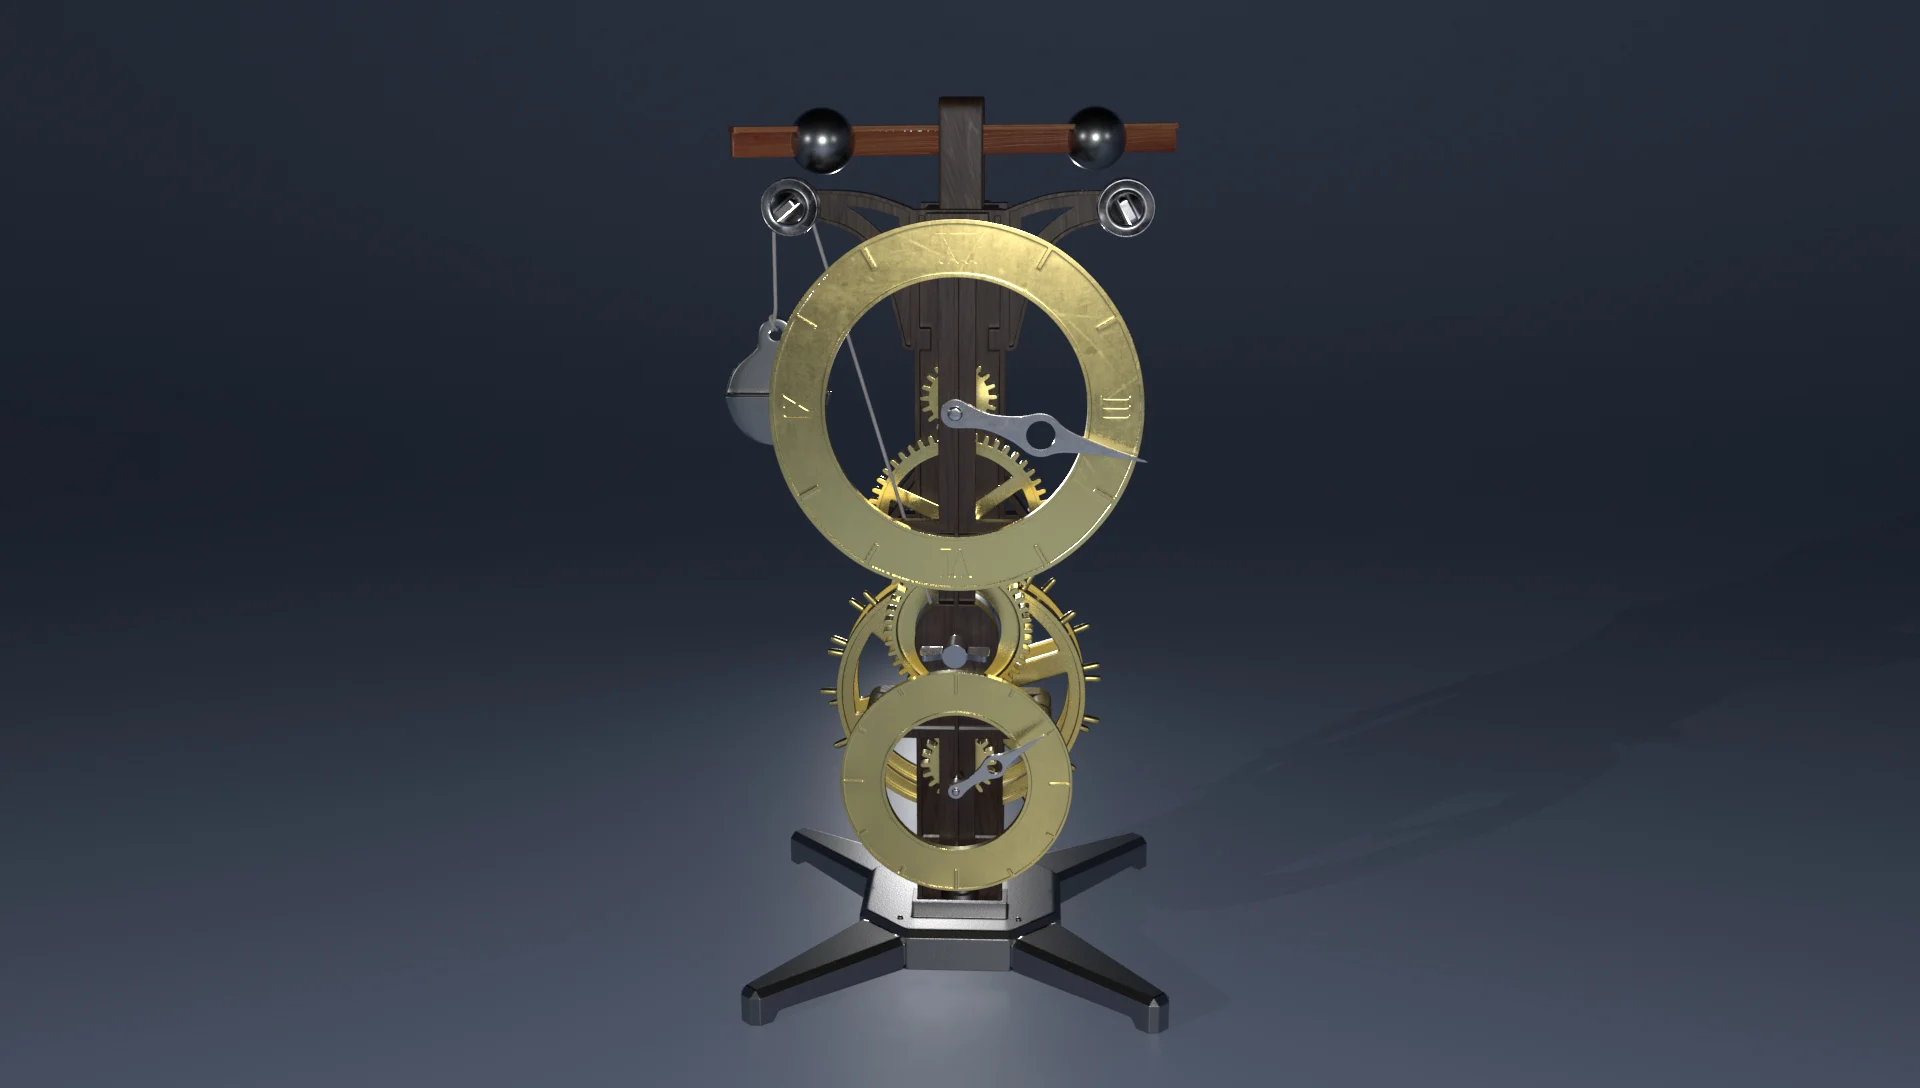
I imported the clock model to Autodesk Maya as I prefer it to 3Ds Max for animation purposes. Using the animatic as a guide, I created the basic animation of the clock and the actions the model takes over the course of the animation. This included creating an exploded view of the clock, making parts of the clock transparent for better visibility its workings, highlighting elements of the model to indicate a part when it was referenced by the narration, and the basic running of the clock. Parts were made transparent by animating the opacity and specularity channels of their textures; I highlighted objects by animating their color channel.
A major portion of this kind of animation is camera moves so that the audience can get a better view of of different parts of the model. The later passes of this animation were focused on getting the camera angles and lighting positions so that they could best show the audience how the clock works.
The animation presented here is close to the animation in the final piece.
Texturing
With the animation complete, I turned my attention back to the model itself. I UV unwrapped the clock model and textured it using Substance Painter. I then exported the textures into Maya and made sure they looked good in the scene; this did require some changes to the scene lighting now that I was using the Arnold rendering engine inside of Maya. I also had to determine a different way to highlight objects in the scene as their color channels now had a mapped texture instead of a solid color as in earlier version of the animation; to solve this problem I animated the emission channel of the objects when I wanted them to be highlighted.
Presented here are the 3D and 2D views of the clock faces as they appear in Substance Painter.
Render Passes and Final Assembly
Once all of the elements of the clock were textured and the scene lighting updated to best capture the new look of the scene I ran some test renders to check what settings needed to be adjusted prior to final rendering. I rendered the final scene using the Arnold renderer in Maya. Each individual frame took from 3 to 5 minutes to render. I also rendered out a separate ambient occlusion pass as the Arnold renderer handles this separately. Once all of my frames were rendered, I composited these passes in After Effects and synced them with the finalized audio to complete the final project..


